
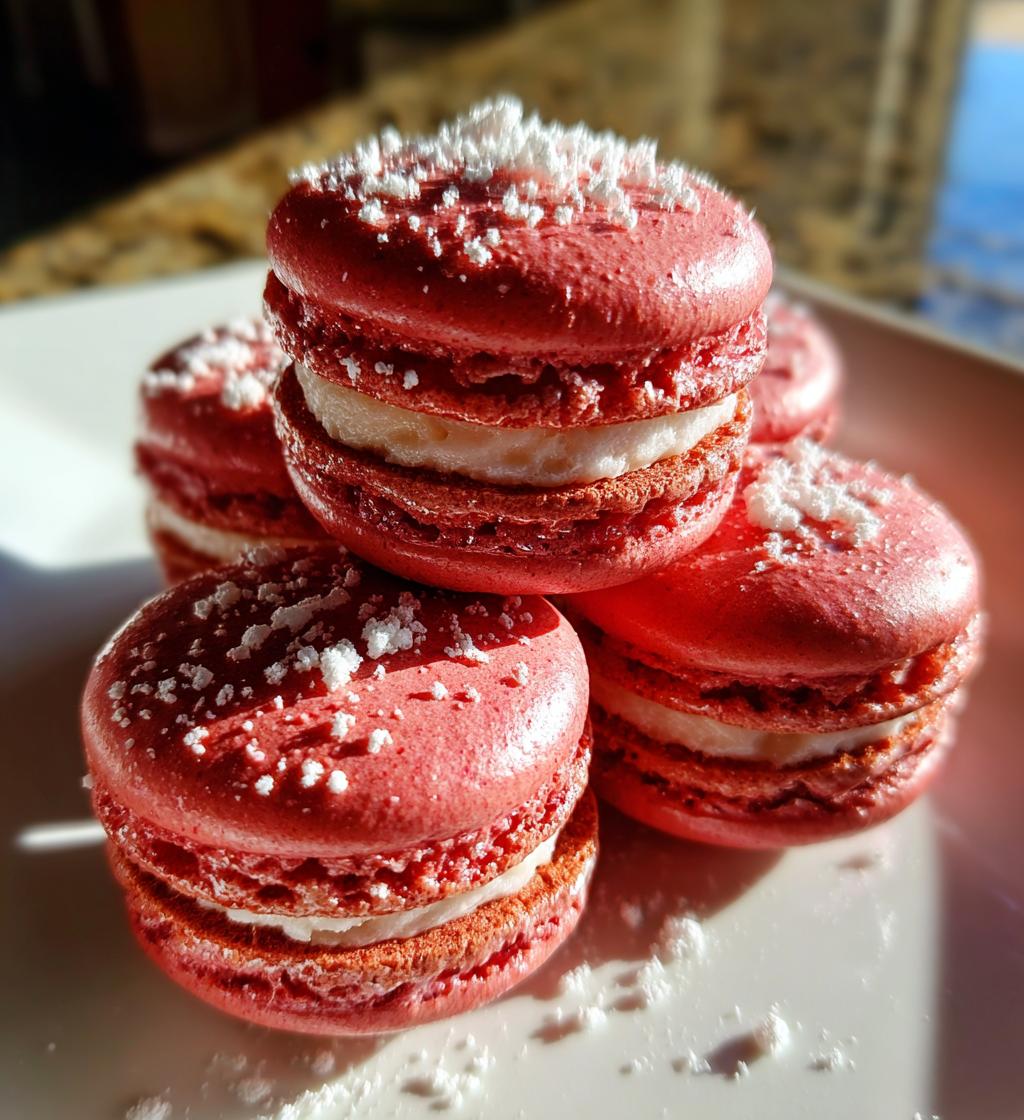
Valentine’s Macarons: 5 Secrets to Heartwarming Delights
Ah, Valentine’s Day! It’s that wonderful time of year when love is in the air and sweet treats are everywhere. If you’re looking to impress your special someone or just want to indulge in something delicious, you absolutely can’t go wrong with Valentine’s Macarons. These delicate, colorful French cookies are not only a feast for the eyes but also for the taste buds. I still remember the first time I made them for a Valentine’s celebration; the joy on my partner’s face as they took a bite was priceless! With a crispy shell and a luscious raspberry filling, these macarons are sure to make your heart flutter. Trust me, once you master this recipe, they’ll become your go-to treat for any occasion!
Ingredients List
Here’s what you’ll need to whip up these delightful Valentine’s Macarons. Make sure to gather all your ingredients before you start, so you’re ready to go!
- 1 cup almond flour: This gives the macarons their signature texture. Be sure it’s finely ground for the best results.
- 1 3/4 cup powdered sugar: This sweetener is essential for that melt-in-your-mouth quality!
- 3 large egg whites: Let them come to room temperature for the best whipping volume.
- 1/4 cup granulated sugar: This will be added gradually to your egg whites for stability.
- 1/2 tsp vanilla extract: For a lovely hint of flavor that complements the sweetness.
- Food coloring (red or pink): Choose your favorite shade to add a festive touch! Just a few drops will do.
- 1/2 cup butter, softened: Make sure your butter is soft but not melted; this will help in creating a smooth filling.
- 1 cup powdered sugar (for filling): This gives your filling that perfect sweetness.
- 1/4 cup raspberry jam (for filling): Use your favorite brand to add a fruity burst of flavor!
With these ingredients prepped and ready, you’re one step closer to creating a batch of macarons that will wow anyone lucky enough to receive them!
How to Prepare Valentine’s Macarons
Prepping the Oven and Baking Sheets
First things first, let’s get that oven ready! Preheat it to 300°F (150°C)—trust me, this is the magic temperature where the macarons really come to life. While that’s heating up, line your baking sheets with parchment paper. I like to trace circles on the paper using a cookie cutter or a lid as a guide, then flip the paper over. This way, your macarons will be perfectly sized and you won’t have to worry about any pencil marks! Just remember to leave some space between the circles, about an inch apart, to give them room to spread.
Making the Macaron Batter
Now, onto the star of the show—the macaron batter! Start by sifting the almond flour and powdered sugar together into a bowl. This step is crucial because it helps eliminate any lumps and ensures a smooth texture. Next, in a separate bowl, whip the egg whites until they become foamy. Gradually add the granulated sugar while continuing to whip until you reach stiff peaks. It’s like magic watching those egg whites transform! Once stiff peaks form, gently fold in the vanilla extract and your chosen food coloring. Be careful here—overmixing can deflate your beautiful whipped egg whites. Finally, fold in the sifted almond flour mixture until just combined. The batter should flow like lava when you lift it up. You want it to be smooth and shiny!
Piping the Macarons
Time to pipe! Transfer your batter to a piping bag fitted with a round tip. Hold the bag vertically and pipe rounds onto your prepared baking sheets. Here’s a tip: don’t lift the bag up too quickly; that’s how you get those little tails! Instead, squeeze gently and pull straight up to create a nice, even circle. I usually pipe all my shells first and then tap the baking sheet on the counter a few times to release any air bubbles. It’ll help them settle and form that perfect smooth top.
Baking and Cooling
Let your piped macarons sit for about 30 minutes. This step is super important as it allows a skin to form on the surface. While you’re waiting, you can clean up the kitchen a bit! Once they’re ready, pop them in the oven and bake for 15-20 minutes. You’ll know they’re done when they’re firm to the touch and you can gently lift them off the parchment without sticking. After baking, let them cool completely on the baking sheets. Patience is key here—allowing them to cool will prevent them from breaking apart.
Preparing the Filling
While your macarons are cooling, let’s whip up that luscious filling! In a medium bowl, beat the softened butter until it’s creamy and smooth. Gradually add the powdered sugar and mix until well combined. Then, stir in the raspberry jam until everything is blended and you achieve a soft, spreadable consistency. You want it to be sweet but with that delightful raspberry tang to balance the flavors!
Assembling the Macarons
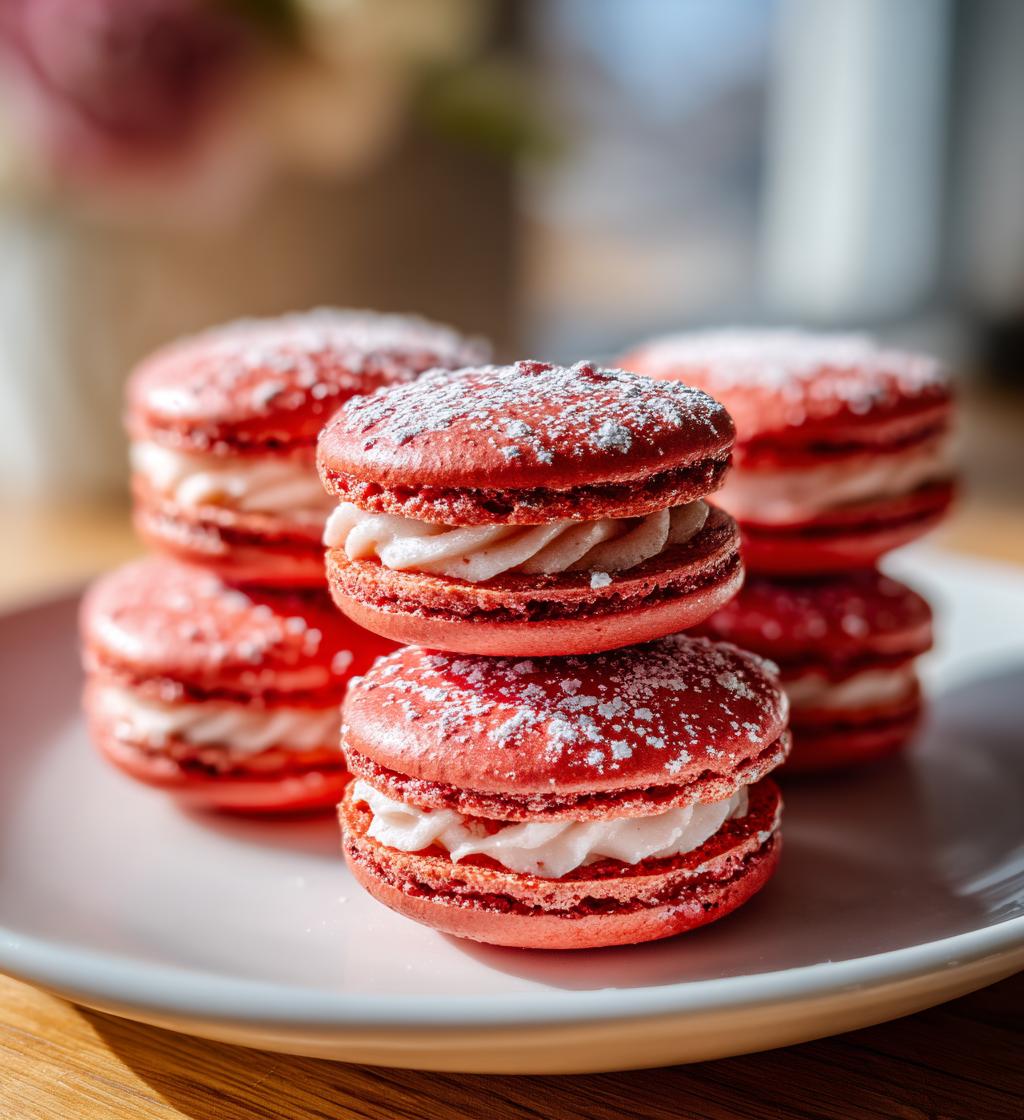
Now for the fun part—assembling your gorgeous macarons! Pair similar-sized shells together, then pipe a dollop of filling onto the flat side of one shell. Gently press the other shell on top to create a perfect sandwich. Don’t be shy with the filling; it’s part of the magic! If you want to get fancy, you can dust them with a little extra powdered sugar or even drizzle some chocolate on top. They’re not just delicious; they’ll look stunning on any table!
Tips for Success
Making macarons can be a bit of a dance, but with these tips, you’ll be twirling like a pro in no time! First up, let’s talk about those egg whites. Make sure they’re at room temperature before you start whipping. This is key for achieving that fluffy, voluminous texture that makes macarons so special. If you can, separate your egg whites a day in advance and let them sit covered in the fridge overnight. This method helps to dry them out a bit and gives you even better volume when whipped!
Next, I can’t stress enough the importance of weighing your ingredients. A kitchen scale is your best friend here! It ensures accuracy, which is crucial for macarons to turn out perfectly. Those little measurements can make a big difference—trust me, I’ve learned this the hard way! If you don’t have a scale, just be sure to spoon and level your dry ingredients rather than scooping straight from the container.
Now, let’s chat about storage. Once your macarons are assembled, store them in an airtight container in the fridge for up to five days. They actually taste even better after a day or two, as the filling has time to soak into the shells. If you want to keep them longer, you can freeze unfilled shells for up to a month—just remember to let them come to room temperature before filling. And if you’ve got some extra filling left over, it makes a delightful spread for toast or pancakes!
With these tips in your back pocket, you’re well on your way to macaron mastery. Just remember, practice makes perfect, and even if they don’t turn out flawless the first time, they’ll still taste amazing. Enjoy the process!
Nutritional Information
Before you dive into these delightful Valentine’s Macarons, it’s good to know what you’re indulging in! Keep in mind that the nutritional values can vary based on the specific ingredients and brands you use, but here’s a typical breakdown for one macaron:
- Calories: 90
- Fat: 4g
- Saturated Fat: 2g
- Unsaturated Fat: 2g
- Cholesterol: 15mg
- Sodium: 5mg
- Carbohydrates: 12g
- Sugar: 8g
- Fiber: 0g
- Protein: 1g
So, whether you’re sharing them with your loved ones or enjoying a few yourself, you can savor these sweet treats with a little insight into their nutritional content. Happy indulging!
FAQ Section
Got questions about making your Valentine’s Macarons? Don’t worry, I’ve got you covered! Here are some common queries that pop up often:
What can I use instead of almond flour?
If you need a nut-free alternative, you can try using sunflower seed flour, but keep in mind it might change the color a bit. If you’re not allergic, finely ground hazelnuts can also work well! Just ensure whatever substitute you choose is finely ground to maintain that signature macaron texture.
How do I know if my egg whites are ready?
You’ll want to whip those egg whites until they form stiff peaks, which means they should be glossy and hold their shape when you lift the whisk out. A little trick? Flip the bowl upside down to test if they stay put—if they do, you’re golden! Just be careful not to overwhip, as that can lead to dry macarons.
Can I add different flavors to the filling?
Absolutely! The filling is where you can really get creative. Instead of raspberry jam, try using lemon curd for a zesty twist, or maybe some chocolate ganache for a rich flavor. You can even mix in extracts like almond or peppermint to give your filling a unique flair. Just adjust the sweetness based on what you use!
Can I make these macarons ahead of time?
Definitely! In fact, they can taste even better after a day or two in the fridge as the flavors meld together beautifully. Just be sure to store them in an airtight container to keep them fresh. If you want to prepare the shells in advance, you can freeze them unfilled for up to a month—just thaw them before filling!
Why are my macarons cracking?
Cracking can happen for a few reasons, usually due to overmixing the batter or not letting them rest long enough before baking. Make sure to fold the batter gently and let those piped shells sit until they form a skin—this helps them rise beautifully without cracking!
With these answers in your back pocket, I hope you feel more confident about making your Valentine’s Macarons. They’re such a joy to create, and trust me, the taste is worth every step!
Why You’ll Love This Recipe
- Easy to make: With just a few straightforward steps, you’ll impress your friends and family in no time!
- A delightful treat for Valentine’s Day: These macarons are perfect for celebrating love with their charming appearance and delicious taste.
- Customizable flavors: You can mix and match fillings and colors to create your own unique twist—think chocolate, lemon, or even coffee!
- Perfect gift for loved ones: Pack them in a cute box or jar, and you’ve got a thoughtful, homemade gift that’s sure to warm hearts.
- Impressive presentation: Their delicate look and vibrant colors make them a showstopper at any gathering or celebration.
- Fun to make: The process is as enjoyable as the end result, making it a great baking project to share with friends or family.

Valentine’s Macarons: 5 Secrets to Heartwarming Delights
- Total Time: 50 minutes
- Yield: 24 macarons 1x
- Diet: Vegetarian
Description
Delicate and colorful macarons perfect for Valentine’s Day.
Ingredients
- 1 cup almond flour
- 1 3/4 cup powdered sugar
- 3 large egg whites
- 1/4 cup granulated sugar
- 1/2 tsp vanilla extract
- Food coloring (red or pink)
- 1/2 cup butter, softened
- 1 cup powdered sugar (for filling)
- 1/4 cup raspberry jam (for filling)
Instructions
- Preheat oven to 300°F (150°C).
- Sift almond flour and powdered sugar together.
- Whip egg whites until foamy, then gradually add granulated sugar.
- Continue whipping until stiff peaks form.
- Add vanilla extract and food coloring, mix gently.
- Fold in the almond flour mixture.
- Pipe onto baking sheets lined with parchment paper.
- Let sit for 30 minutes to form a skin.
- Bake for 15-20 minutes.
- Let cool completely.
- Prepare filling by mixing butter, powdered sugar, and raspberry jam.
- Sandwich filling between two macaron shells.
Notes
- Ensure egg whites are at room temperature.
- Use a kitchen scale for accuracy.
- Store macarons in an airtight container.
- Prep Time: 30 minutes
- Cook Time: 20 minutes
- Category: Dessert
- Method: Baking
- Cuisine: French
Nutrition
- Serving Size: 1 macaron
- Calories: 90
- Sugar: 8g
- Sodium: 5mg
- Fat: 4g
- Saturated Fat: 2g
- Unsaturated Fat: 2g
- Trans Fat: 0g
- Carbohydrates: 12g
- Fiber: 0g
- Protein: 1g
- Cholesterol: 15mg
Keywords: Valentine's Macarons, Macaron Recipe, French Cookies