
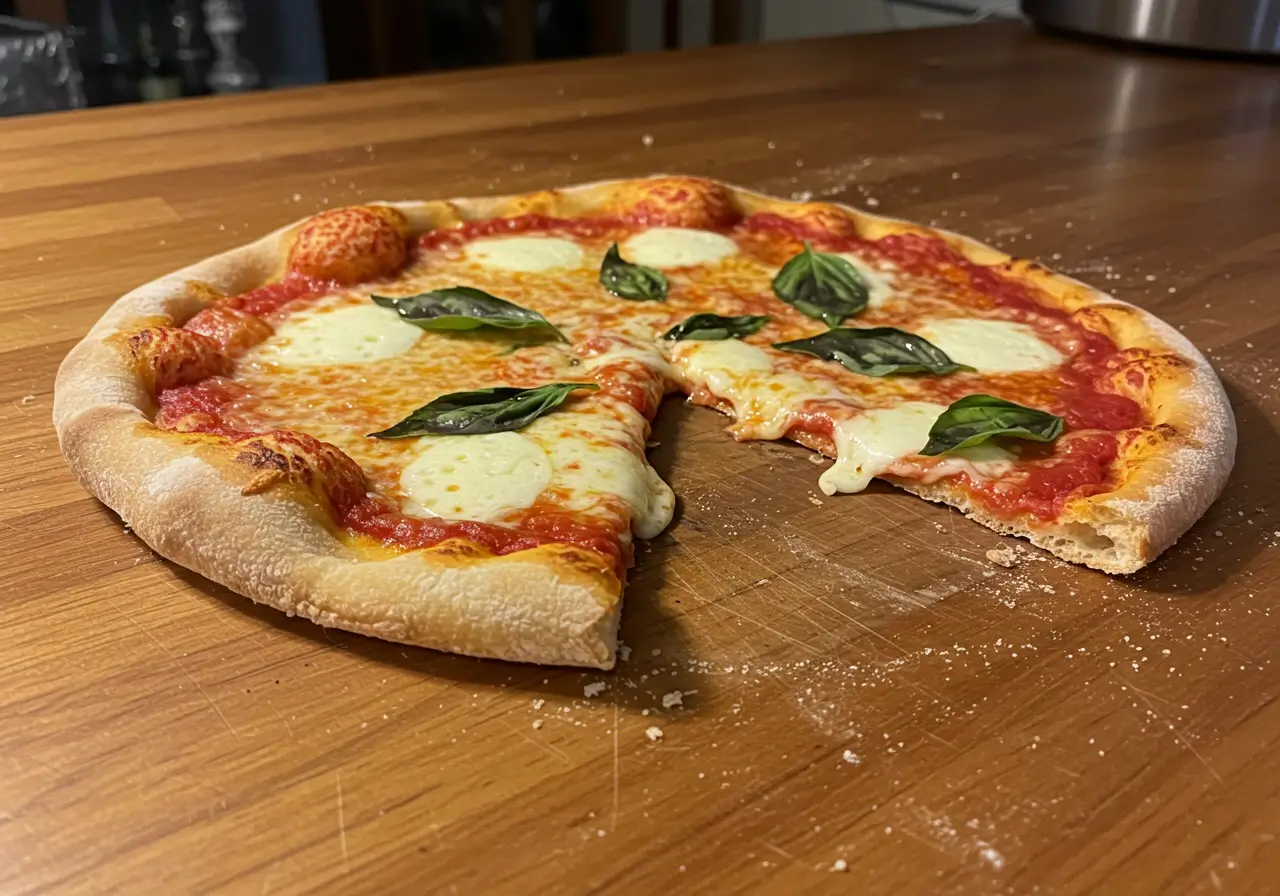
Discarded Sourdough Pizza Dough
Table of Contents
There’s nothing quite like the smell of freshly baked pizza wafting through your kitchen. And when that crust has the tangy depth of sourdough? Oh boy—you’re in for a real treat. If you’ve been nurturing a sourdough starter, chances are you’ve faced the classic dilemma: What do I do with all this discard?
Well, don’t toss it! This guide is your go-to resource for turning that leftover starter into crispy, chewy, golden brown pizza perfection. We’re diving deep into every corner of discarded sourdough pizza dough—from what makes it unique, how to make it step-by-step, ways to bake it for the best crust, creative topping ideas, and how to store or freeze leftovers without losing the magic.
Whether you’re a sourdough newbie or an old pro, this long-form article will walk you through it all, packed with hands-on tips, FAQs, and smart baking secrets. Ready to get started?
How to Make Discarded Sourdough Pizza Dough Step-by-Step
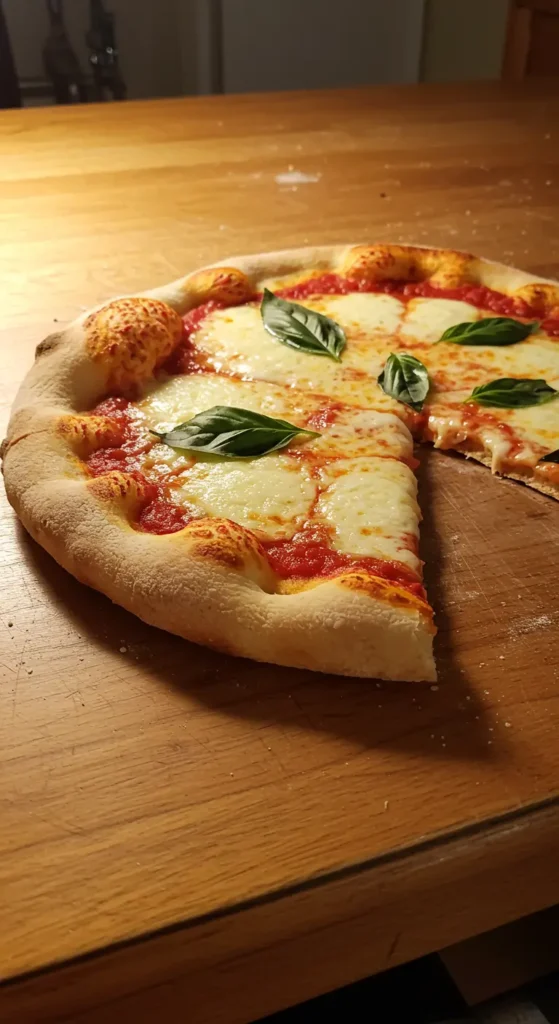
Basic Ingredients and Tools You’ll Need
Before you dive in, let’s gather everything you need. Making discarded sourdough pizza dough doesn’t require fancy gadgets—just a few basics you probably already have in your kitchen.
You’ll need:
- Sourdough discard (unfed, from the fridge works great)
- Bread flour (for chewiness) and optionally whole wheat flour (for depth)
- Warm water (helps with mixing and activation)
- Salt, olive oil, and a touch of honey or sugar (boosts flavor and fermentation)
- Instant yeast (optional but helpful for quicker rise)
- Mixing bowl, bench scraper, and dough hook or your good ol’ hands
Pro tip: A digital scale makes all the difference. For consistent results, weigh your ingredients. Trust me—it’s worth it!
Mixing and Kneading Techniques (by hand or mixer)
Alright, let’s get into it.
Start by combining your discarded sourdough starter, warm water, and oil in a large bowl. Stir to dissolve, then add your flours and salt. If you’re using yeast, mix it in with the dry ingredients first.
Now, for the fun part—kneading. If you’re using a stand mixer with a dough hook, knead on medium speed for 10–12 minutes. No mixer? No problem. Knead by hand for 12–15 minutes on a clean surface until the dough becomes smooth, elastic, and slightly tacky. Avoid adding too much flour—it should feel a little sticky.
This is where many people go wrong. If your dough feels too wet, resist the urge to overload it with flour. Instead, try the stretch and fold method, or let it rest for 10 minutes—it’ll hydrate and strengthen on its own.
Proofing Tips: Bulk Ferment vs. Overnight Rise
Once your dough is kneaded, shape it into a ball and place it in a lightly oiled bowl. Cover with a lid or damp towel and let it rise at room temperature for 4–6 hours, or until it’s puffed up and doubled in size.
In a hurry? Add a pinch of yeast for a quicker same-day dough. Got time? Stick it in the fridge overnight for a slow rise and that signature sourdough flavor.
Whether you choose a quick proof or a slow cold ferment, discarded sourdough pizza dough is flexible and forgiving—just let the dough do its thing.
Shaping and Baking the Perfect Crust
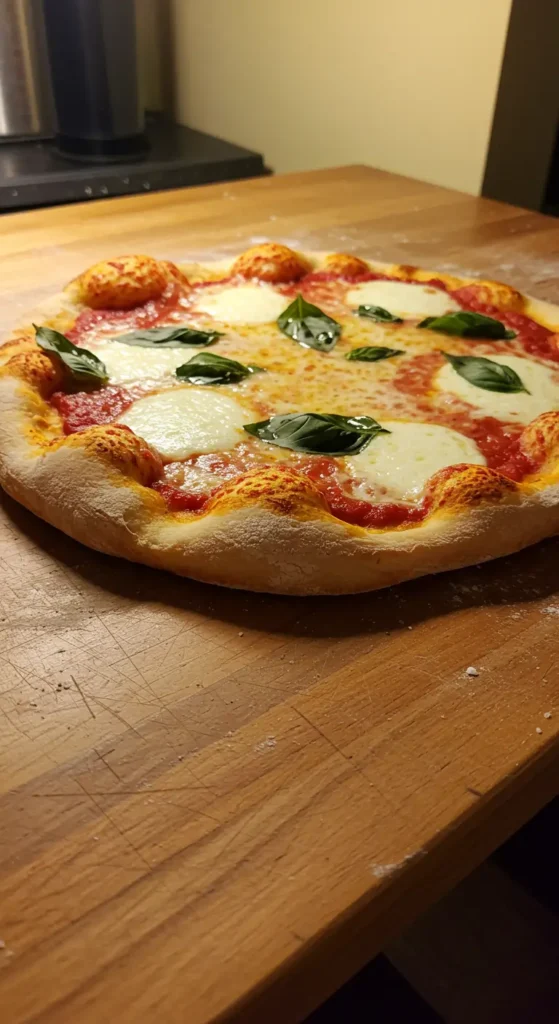
Pre-Shaping and Gluten Relaxation
So, your dough’s risen—nice work! Now, divide it into equal portions. For personal pizzas, 200–250g per ball works well. Gently shape each piece into a round ball, tucking the edges under to build tension on the surface.
Let these dough balls rest, covered, for 20–30 minutes. This short nap allows the gluten to relax, making the dough easier to shape without tearing.
And here’s the kicker: relaxed dough = airy, bubbly crust.
Techniques for Stretching Dough (without a rolling pin!)
Avoid the rolling pin! It flattens all the lovely air bubbles you just worked so hard to create. Instead, use your fingertips to press from the center outward, gently encouraging the dough into a round shape.
Once it’s spread out a bit, pick it up and let gravity help. Drape the dough over the backs of your hands, turning slowly to stretch the edges. Think pizza shop flair, minus the dough spinning.
It’s okay if your pizza ends up more rustic than round—it just adds to the charm of discarded sourdough pizza dough.
Oven Setup: Pizza Stone, Steel, or Tray?
Let’s talk baking. The hotter, the better. Preheat your oven to at least 500°F (260°C)—if it goes higher, even better. Place a pizza stone, baking steel, or upside-down sheet pan in the oven during preheat. This ensures your crust crisps from the bottom up.
Once your dough is shaped and topped, transfer it to a piece of parchment and slide it onto your hot surface. A pizza peel helps, but the back of a baking sheet works in a pinch.
Bake for 7–10 minutes or until the crust is golden and crisp, the cheese is bubbly, and your kitchen smells like an Italian pizzeria.
Now you’re officially one step closer to mastering homemade discarded sourdough pizza dough—and your taste buds will thank you for it!
Best Toppings for Sourdough Discard Pizza Dough
Classic Combinations That Let the Crust Shine
When it comes to toppings, sometimes less really is more. The beauty of discarded sourdough pizza dough is its bold, complex flavor—and you don’t want to drown it in a sea of sauce and cheese.
Stick to classic combos like:
- Margherita: fresh mozzarella, basil, and crushed tomatoes
- Mushroom & thyme: earthy, aromatic, and simple
- Prosciutto and arugula: a salty-peppery match made in heaven
These highlight the chewy-crisp texture and tangy notes of your homemade sourdough crust without overpowering them.
Creative Seasonal and Vegetarian Options
Now if you’re feeling adventurous, play with seasonal flavors:
- Roasted squash, goat cheese & sage in the fall
- Fresh cherry tomatoes, zucchini, and burrata in the summer
- Caramelized onions, blue cheese, and walnuts in winter
You can also go meatless and still enjoy bold flavor with plant-based toppings. Think grilled eggplant, spicy chickpeas, or pesto-drizzled veggies.
No matter your flavor preferences, the dough remains the real star. And if you’re just getting started, you might want to try a traditional version like this classic pizza dough recipe for comparison.
Make-Ahead, Storage, and Freezing Tips
Refrigerating Dough Before or After Proofing
Busy week ahead? No problem. One of the best parts about discarded sourdough pizza dough is how well it fits into real-life schedules.
Once you’ve kneaded and shaped your dough into balls, pop them into an oiled container and refrigerate. Cold fermentation slows down the rise, deepens the flavor, and actually makes the dough easier to work with the next day.
Pro tip: Let it rest at room temperature for 1–2 hours before baking to reactivate the yeast and soften the gluten. Cold dough is tough to stretch!
Freezing Dough Balls vs. Parbaked Bases
Let’s say you made a big batch—yay for future pizza nights! Here’s how to freeze it:
- Freeze dough balls after the first rise. Wrap each one tightly in plastic wrap, then store in a zip-top freezer bag. To use, thaw overnight in the fridge and bring to room temp before shaping.
- Freeze parbaked pizza crusts for an even quicker option. Shape and partially bake your crust (5 minutes at 450°F), cool completely, then freeze flat between parchment sheets. When ready, add toppings and bake straight from frozen.
Either way, you’ll always have pizza-ready dough waiting in the wings. Because let’s be honest—once you’ve had sourdough pizza crust, there’s no going back.
Using Leftover Dough and Discard Creatively
Pizza Pockets, Breadsticks, or Flatbread Snacks
Got leftover discarded sourdough pizza dough? Don’t let it go to waste—there are loads of ways to turn those scraps into something seriously snack-worthy.
First off, roll out the extra dough into small rounds, stuff them with cheese, veggies, or cooked meats, then fold and seal. Boom—homemade pizza pockets! They’re perfect for lunches or on-the-go meals.
You can also cut the dough into strips, twist them with herbs and garlic, and bake for crispy breadsticks. Dip ’em in marinara or garlic butter—yum!
For something even quicker, flatten the dough into a rustic circle and throw it on a hot skillet or griddle. In just minutes, you’ve got chewy, bubbly flatbread. Brush with olive oil and sprinkle with sea salt—instant appetizer magic.
Discard for More Than Pizza – Sweet or Savory Ideas
Discarded sourdough pizza dough isn’t just for savory recipes. Believe it or not, you can go sweet too!
Shape the dough into mini cinnamon rolls, fry it up for quick doughnuts, or turn it into a rustic dessert base for fruit and cream cheese.
The versatility here is endless. Once you get comfortable with using sourdough discard, it becomes your not-so-secret weapon in the kitchen—saving time, reducing waste, and adding flavor to just about anything.
Equipment Guide for Sourdough Pizza Success
Must-Haves: Scraper, Pizza Peel, Kitchen Scale
You don’t need a commercial kitchen to make amazing pizza—but having the right tools can make the process a lot smoother.
Start with a bench scraper. It’s great for moving and dividing sticky discarded sourdough pizza dough without turning your hands into a gooey mess.
A pizza peel is also a game-changer. It helps you slide your pizza onto the hot stone or steel with confidence—no tearing, no burns, just perfect placement.
And don’t forget a digital kitchen scale. Measuring by weight (not cups!) is essential for consistent results, especially with sourdough-based recipes.
Worth-It Add-Ons: Pizza Oven, Semolina, Proofing Containers
If you make pizza often, you might want to level up. A small pizza oven or a baking steel can boost your bake from good to amazing.
Use semolina flour when shaping—its coarse texture keeps your dough from sticking and adds a little crunch.
Glass proofing containers let you watch the rise and reuse easily. Simple tools, big difference!
Common Mistakes and How to Fix Them
Dealing with Overly Sticky Dough
One of the most common issues folks run into with discarded sourdough pizza dough is stickiness. It’s totally normal—especially with higher hydration doughs—but it can be frustrating.
So, what’s the fix?
First, try not to add too much flour. It’s tempting, but too much can lead to a tough, dry crust. Instead, let the dough rest for 10 minutes. That short pause allows the flour to fully absorb the water, making it easier to handle.
You can also lightly oil your hands and work surface, or use a dough scraper to keep things tidy.
Why Your Dough Isn’t Rising
Another hiccup? Dough that just won’t rise. This often comes down to the strength of your starter. If your discarded sourdough starter is old or hasn’t been fed in a while, it might not have the muscle to lift your dough.
To help it along, add a small amount of instant yeast—just 1/4 teaspoon can make a big difference.
Also, be sure your kitchen is warm enough. Cooler temps slow fermentation. If needed, proof your dough in a turned-off oven with the light on.
Getting these small details right can take your discarded sourdough pizza dough from meh to magnificent.
Print
Discarded Sourdough Pizza Dough
- Total Time: PT10H
- Yield: Serves 4 (4–5 pizza bases) 1x
- Diet: Vegetarian
Description
A simple and flavorful recipe using discarded sourdough starter to make crispy, chewy pizza dough at home. This easy, zero-waste method turns leftovers into artisan-style crusts, perfect for any pizza night.
Ingredients
- 200g sourdough starter discard
- 7g instant yeast (optional)
- 280g warm water
- 20g honey or sugar
- 30g olive oil
- 500g bread flour
- 20g sea salt
Instructions
- Combine sourdough discard, warm water, and honey in a large bowl and mix until dissolved.
- Add olive oil, flour, salt, and yeast (if using). Stir until a shaggy dough forms.
- Knead for 10–12 minutes by hand or 7–8 minutes with a mixer until dough is smooth and elastic.
- Place dough in a greased bowl, cover, and let rise at room temperature for 4–6 hours or refrigerate overnight.
- Divide dough into 4–5 equal balls and let them rest for 30 minutes, covered.
- Stretch dough gently by hand into pizza rounds; avoid using a rolling pin.
- Preheat oven to 500°F (260°C) with a pizza stone or baking steel inside.
- Add toppings to shaped dough, transfer to baking surface, and bake for 7–10 minutes until golden and crisp.
Notes
- Use oiled hands or a scraper to handle sticky dough instead of adding extra flour.
- Cold fermentation enhances flavor and makes dough easier to stretch.
- Semolina flour helps prevent sticking and adds texture.
- Pizza bases can be parbaked and frozen for later use.
- Prep Time: PT15M
- Cook Time: PT15M
- Category: Dinner
- Method: Baking
- Cuisine: American
Nutrition
- Serving Size: 203g
- Calories: 467
- Sugar: 4g
- Sodium: 1557mg
- Fat: 8g
- Saturated Fat: 1g
- Unsaturated Fat: 6g
- Trans Fat: 0g
- Carbohydrates: 84g
- Fiber: 3g
- Protein: 14g
- Cholesterol: 0mg
Keywords: discarded sourdough pizza dough, sourdough discard pizza crust, pizza dough with sourdough discard, homemade sourdough pizza, leftover starter pizza dough, easy sourdough pizza base, artisan pizza crust
FAQs – People Also Ask
Can I use fed starter instead of discard?
Yes! You can absolutely swap in fed starter for discarded sourdough pizza dough. Just keep in mind that fed starter is more active, so your dough may rise faster and develop a milder tang.
How long should sourdough discard dough ferment?
That depends. At room temperature, it usually takes 4 to 6 hours. But for deeper flavor, many bakers prefer an overnight cold ferment in the fridge. This slow rise not only enhances taste—it also makes the dough easier to stretch and bake.
Can I skip the yeast?
You can—but only if your discard is from a strong, mature starter. Otherwise, your dough may rise too slowly or not at all. Adding a pinch of yeast gives your discarded sourdough pizza dough a boost without losing the sourdough charm.
What’s the difference between sourdough bread dough and pizza dough?
Both start with the same ingredients, but they’re used differently. Pizza dough is often a bit lower in hydration and higher in oil to give it structure and that crispy-chewy texture we all love. Bread dough usually proofs longer and aims for a more open crumb.
Why is my dough sticky after proofing?
Stickiness after proofing is pretty normal—especially with high-moisture doughs. Use wet or oiled hands to shape, and resist over-flouring. If it’s still a mess, let it chill in the fridge for an hour. Cooler dough is easier to manage.