
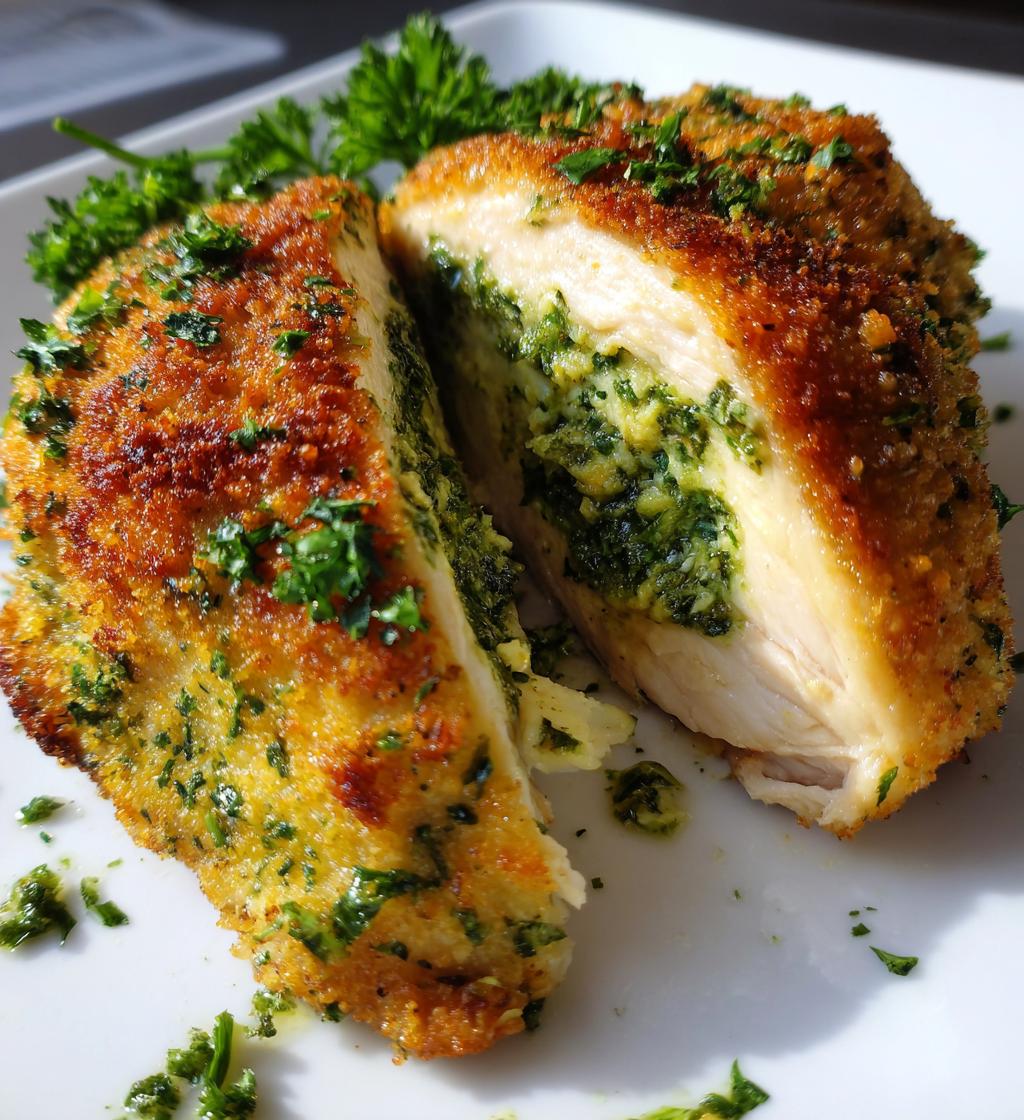
Chicken Kiev with Garlic Parsley Butter: 7 Irresistible Tips
Oh my goodness, let me tell you about Chicken Kiev with Garlic Parsley Butter—this dish is an absolute showstopper! It’s a classic that never fails to impress, with its succulent chicken breast oozing rich, garlicky goodness. I remember the first time I made it for a dinner party; the aroma filled my kitchen and had everyone buzzing with excitement. As soon as my friends took their first bite, their eyes lit up! Trust me, the combination of tender chicken and that flavorful garlic parsley butter is something you simply can’t resist. It’s comfort food at its finest!
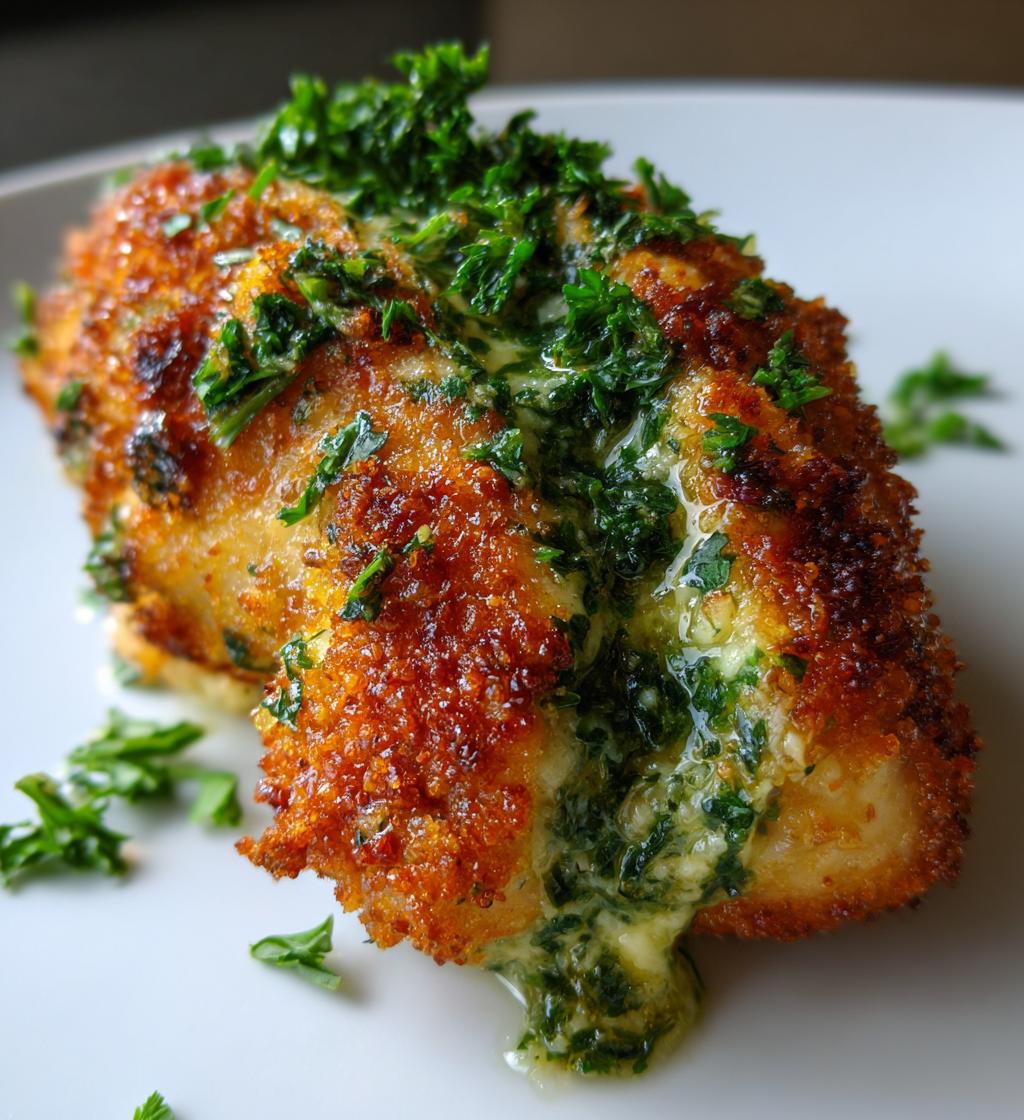
Ingredients for Chicken Kiev with Garlic Parsley Butter
Getting the right ingredients together is key to nailing this Chicken Kiev with Garlic Parsley Butter! Here’s everything you’ll need:
- 4 boneless chicken breasts
- 100g unsalted butter, softened to room temperature (make sure it’s really soft for easy mixing!)
- 4 cloves garlic, minced (you can adjust this if you’re a garlic lover like me!)
- 2 tablespoons fresh parsley, chopped (fresh herbs really elevate the flavor)
- 1 tablespoon lemon juice (for that zesty kick)
- 1 cup all-purpose flour (for dredging)
- 2 eggs, beaten (this helps the breadcrumbs stick)
- 2 cups breadcrumbs (I prefer panko for extra crunch!)
- Salt and pepper to taste (don’t be shy with the seasoning!)
- Vegetable oil for frying (enough to coat the bottom of your pan)
How to Prepare Chicken Kiev with Garlic Parsley Butter
Alright, let’s dive into the delicious process of making Chicken Kiev with Garlic Parsley Butter! It sounds fancy, but don’t worry, I’ll guide you through each step. Just follow along, and you’ll have a restaurant-quality dish right at home!
- First things first, preheat your oven to 180°C (350°F). This way, it’s nice and hot when it’s time to bake the chicken.
- Now, grab a mixing bowl and combine the softened butter, minced garlic, chopped parsley, lemon juice, salt, and pepper. Mix it all together until it’s beautifully blended. Trust me, the smell is going to be heavenly!
- Next, take your chicken breasts and flatten them out gently with a mallet—this helps them cook evenly and makes them easier to roll. Aim for about half an inch thick. You want them to be tender and juicy!
- Once your chicken is flattened, place a generous portion of that garlicky butter mixture right in the center of each breast. Don’t be shy; this is where all the flavor lives!
- Now, fold the sides of the chicken over the butter and roll it up tightly, tucking in the ends. Secure each roll with toothpicks to keep everything in place. This part is essential, or you’ll end up with butter oozing everywhere!
- Time to dredge! Set up a little assembly line: first, coat each chicken roll in flour, then dip it into the beaten eggs, and finally roll it in breadcrumbs. Make sure they’re fully coated for that perfect crunch!
- Heat vegetable oil in a pan over medium heat. You want enough oil to cover the bottom of the pan. Fry the chicken rolls for about 3-4 minutes on each side, or until they’re golden brown and crispy. Oops! Be careful not to overcrowd the pan; you want them to fry evenly!
- Once browned, transfer the chicken to a baking dish and pop it in the preheated oven. Bake for 15-20 minutes, or until the chicken is fully cooked through (you can check it with a meat thermometer—it should read 75°C/165°F).
- Before serving, don’t forget to remove those toothpicks! And there you have it—beautifully cooked Chicken Kiev, just waiting to be devoured!
Why You’ll Love This Recipe
- It’s a quick and straightforward recipe that can be whipped up in about 45 minutes!
- The flavors of the garlic parsley butter are simply irresistible, creating an explosion of taste in every bite.
- It’s a classic dish that’s sure to impress your family and friends—perfect for dinner parties or special occasions!
- With the crispy coating and succulent chicken, it’s a delightful textural experience that everyone loves.
- This recipe is highly customizable; feel free to experiment with different herbs or spices to make it your own!
- It pairs beautifully with a variety of sides, from mashed potatoes to fresh salads, making it versatile for any meal.
Tips for Success
Here are some of my top tips to ensure your Chicken Kiev with Garlic Parsley Butter turns out absolutely perfect every time!
- Butter Temperature: Make sure your butter is really soft—like, spreadable soft! This ensures it mixes well with the garlic and parsley, and it’ll melt beautifully inside the chicken.
- Flattening Chicken: When you’re flattening the chicken breasts, use a sheet of plastic wrap to prevent splatter. This keeps your kitchen tidy and makes the process smoother!
- Coating Technique: For that perfect crunchy coating, make sure to shake off any excess flour and breadcrumbs. It helps them stick better and gives you that golden, crispy exterior we all love!
- Oil Temperature: Before frying, make sure your oil is hot enough. You can test it by dropping a small piece of bread into the oil—if it sizzles, you’re good to go! Frying in oil that’s too cool can lead to soggy chicken.
- Serving Suggestions: Serve your Chicken Kiev with a fresh side salad or some creamy mashed potatoes. A squeeze of lemon on top right before serving adds a delightful brightness!
- Resting Time: After baking, let the chicken rest for a few minutes before serving. This allows the juices to redistribute, making each bite moist and flavorful.
Variations on Chicken Kiev with Garlic Parsley Butter
If you’re feeling adventurous, there are so many fun ways to mix things up with this Chicken Kiev with Garlic Parsley Butter! Here are some tasty variations to keep your taste buds excited:
- Herb Infusion: Swap out the parsley for other fresh herbs like dill, chives, or even tarragon. Each herb brings its own unique flavor profile to the dish!
- Cheesy Delight: Add a bit of grated cheese, like mozzarella or cheddar, to the garlic butter mixture for a gooey, cheesy surprise when you cut into the chicken!
- Spicy Kick: For those who love a bit of heat, mix in some red pepper flakes or a dash of hot sauce into the butter. It’s a game-changer!
- Stuffed Variation: Get creative by adding a layer of sautéed spinach or mushrooms alongside the garlic butter for an extra depth of flavor and a pop of color!
- Different Proteins: Try this recipe with turkey or even fish! Just adjust the cooking times accordingly, as they may cook faster or slower than chicken.
- Side Dish Pairing: Instead of the usual mashed potatoes, serve with a light quinoa salad or roasted vegetables to keep things fresh and vibrant!
These variations not only keep things exciting but also make it easy to adapt the dish to your mood or the ingredients you have on hand. So go ahead, get creative, and make this Chicken Kiev your own!
Nutritional Information for Chicken Kiev with Garlic Parsley Butter
Now, let’s talk about the nutritional goodness of this Chicken Kiev with Garlic Parsley Butter. Keep in mind that these values are estimates and can vary based on specific ingredients and portion sizes. Here’s what you can expect per serving:
- Calories: 420
- Fat: 25g
- Saturated Fat: 10g
- Unsaturated Fat: 15g
- Trans Fat: 0g
- Cholesterol: 90mg
- Sodium: 600mg
- Carbohydrates: 30g
- Fiber: 2g
- Sugar: 1g
- Protein: 25g
This dish is not only delicious but also packed with protein, making it a satisfying choice for dinner. Enjoy every bite, knowing it’s a hearty meal that’ll keep you going!
FAQ About Chicken Kiev with Garlic Parsley Butter
Got questions about making Chicken Kiev with Garlic Parsley Butter? Don’t worry, I’ve got you covered! Here are some common queries that might pop up as you dive into this delightful dish.
Can I make Chicken Kiev ahead of time?
Absolutely! You can prepare the chicken rolls and coat them with breadcrumbs a day in advance. Just keep them in the fridge until you’re ready to fry and bake. It’ll save you time on the day you want to serve it!
What can I use instead of breadcrumbs?
If you’re looking for a gluten-free option or just want to switch things up, try using crushed cornflakes or gluten-free breadcrumbs. They’ll give you a nice crunch without compromising on flavor!
How do I know when the chicken is fully cooked?
The best way to check is with a meat thermometer. You want it to reach 75°C (165°F) in the thickest part of the chicken. If you don’t have one, make sure the juices run clear when you cut into it. No pink should be visible!
Can I freeze Chicken Kiev?
Yes, you can! Just make sure to freeze the uncooked chicken rolls before frying. Wrap them tightly in plastic wrap and store them in a freezer bag. When you’re ready to cook, just thaw them in the fridge overnight and follow the cooking instructions.
What sides go well with Chicken Kiev?
This dish pairs wonderfully with creamy mashed potatoes, a fresh garden salad, or even some roasted veggies. You can’t go wrong with a side that balances the richness of the chicken!
Storage & Reheating Instructions
So, you’ve made this delectable Chicken Kiev with Garlic Parsley Butter, and now you’ve got leftovers (if you’re lucky!). Here’s how to store them and keep that incredible flavor intact!
First off, make sure to let the chicken cool completely before storing it. Once cooled, wrap each piece tightly in plastic wrap or aluminum foil. This helps to lock in moisture and prevent any freezer burn. You can also place them in an airtight container if you prefer. They’ll keep well in the refrigerator for about 3-4 days.
If you want to store them for longer, you can freeze the Chicken Kiev before or after cooking. Just remember, if you freeze them uncooked, you can keep them for up to 3 months! Wrap them well, and when you’re ready to cook, simply thaw them in the fridge overnight before frying and baking.
Now, when it comes to reheating, you want to ensure they stay crispy and delicious. If you’re reheating from the fridge, preheat your oven to 180°C (350°F) and place the Chicken Kiev on a baking sheet. Bake for about 10-15 minutes, or until heated through and the coating is nice and crispy again. You can also use an air fryer for about 8-10 minutes at the same temperature for that extra crunch. Just don’t microwave them, or you’ll end up with soggy chicken!
Enjoy your leftovers just as much as the first time around! Trust me, it’s just as satisfying to dig into this flavorful dish even days later.
Print
Chicken Kiev with Garlic Parsley Butter: 7 Irresistible Tips
- Total Time: 45 minutes
- Yield: 4 servings 1x
- Diet: Gluten Free
Description
Chicken Kiev is a classic dish featuring chicken breast filled with garlic parsley butter.
Ingredients
- 4 boneless chicken breasts
- 100g unsalted butter, softened
- 4 cloves garlic, minced
- 2 tablespoons fresh parsley, chopped
- 1 tablespoon lemon juice
- 1 cup all-purpose flour
- 2 eggs, beaten
- 2 cups breadcrumbs
- Salt and pepper to taste
- Vegetable oil for frying
Instructions
- Preheat your oven to 180°C (350°F).
- In a bowl, mix butter, garlic, parsley, lemon juice, salt, and pepper.
- Flatten chicken breasts with a mallet.
- Place a portion of the butter mixture in the center of each chicken breast.
- Fold the sides of the chicken over the butter and secure with toothpicks.
- Dredge each chicken piece in flour, then dip in eggs, and coat with breadcrumbs.
- Heat oil in a pan over medium heat. Fry the chicken until golden brown.
- Transfer the chicken to a baking dish and bake for 15-20 minutes, or until fully cooked.
- Remove toothpicks before serving.
Notes
- Ensure the butter is very soft for easy mixing.
- You can add other herbs like dill or chives for variation.
- Serve with mashed potatoes or a fresh salad.
- Prep Time: 15 minutes
- Cook Time: 30 minutes
- Category: Main Course
- Method: Baking and frying
- Cuisine: Ukrainian
Nutrition
- Serving Size: 1 piece
- Calories: 420
- Sugar: 1g
- Sodium: 600mg
- Fat: 25g
- Saturated Fat: 10g
- Unsaturated Fat: 15g
- Trans Fat: 0g
- Carbohydrates: 30g
- Fiber: 2g
- Protein: 25g
- Cholesterol: 90mg
Keywords: Chicken Kiev, Garlic Parsley Butter, Chicken Recipes, Ukrainian Cuisine