
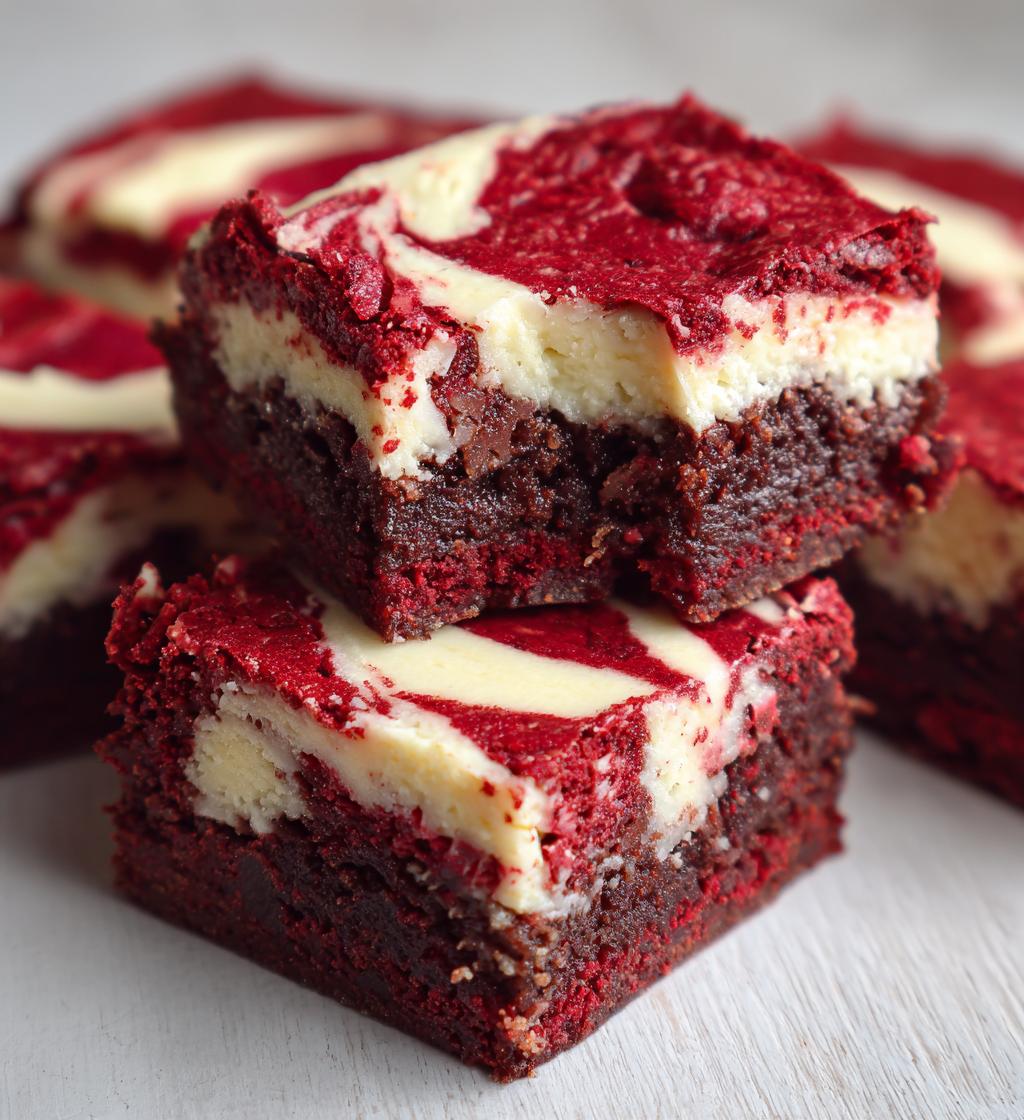
Red Velvet Brownies with Cream Cheese Swirl: 7 Reasons to Indulge
Oh my goodness, let me tell you about these *Red Velvet Brownies with Cream Cheese Swirl*! They are like a little slice of heaven, and every bite is a delightful combination of rich chocolatey goodness with that signature red velvet flavor. Trust me, once you try these, you’ll want to make them for every gathering you have!
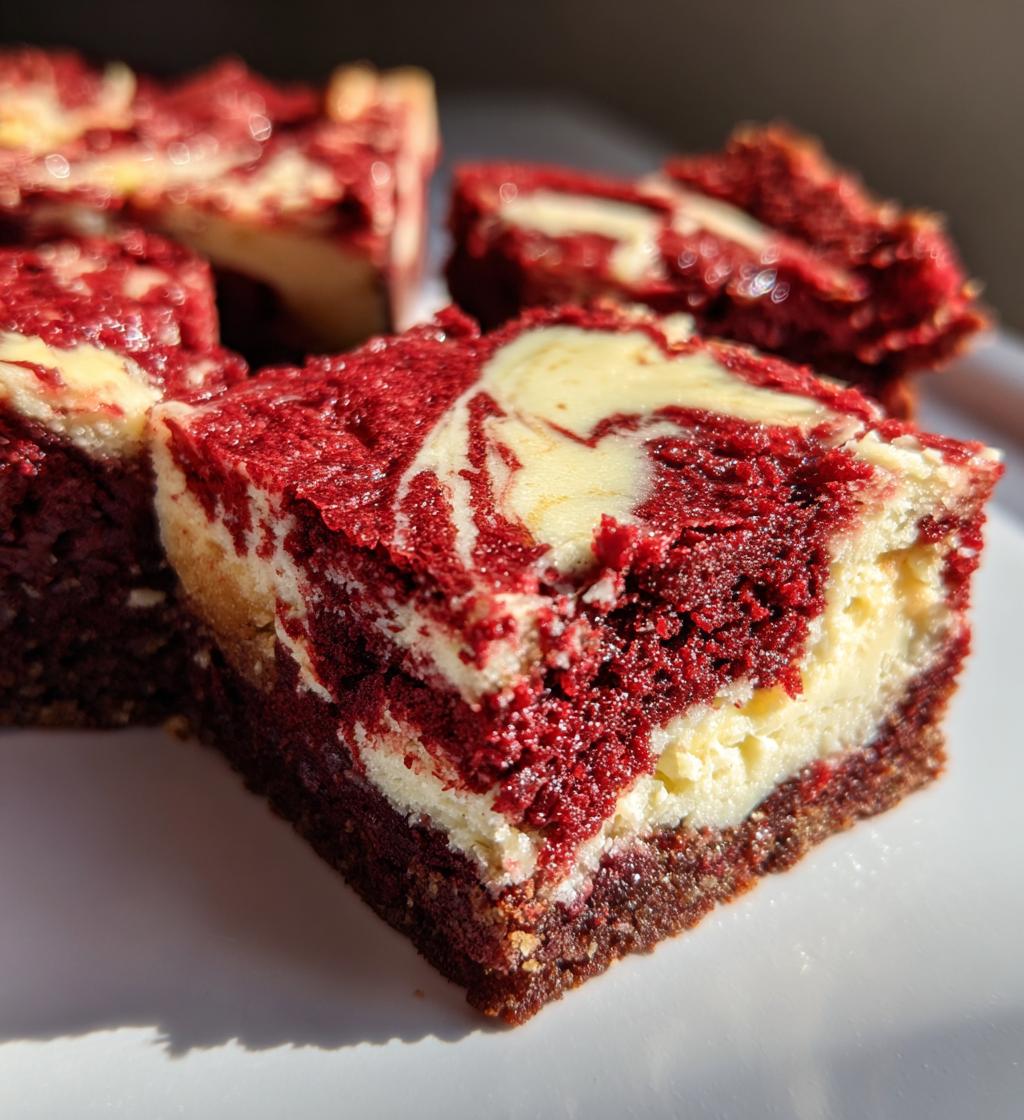
What I love most about these brownies is how they bring a touch of elegance and fun to any occasion. Whether it’s a birthday party, a holiday feast, or just a cozy night in, these brownies are sure to impress your family and friends. The vibrant red color is just so festive, and the creamy swirl on top adds a beautiful contrast that makes them look oh-so-delicious.
And the best part? They’re super easy to whip up! With just a handful of ingredients and a little bit of time, you’ll have a batch of these scrumptious brownies ready to devour. Seriously, they’re perfect for anyone from beginner bakers to seasoned pros. So, let’s get started on this fun adventure in baking – I promise, you won’t regret it!
Ingredients
- 1 cup all-purpose flour
- 1/2 cup unsweetened cocoa powder
- 1 cup granulated sugar
- 1/2 cup unsalted butter, melted
- 2 large eggs
- 1 tablespoon red food coloring
- 1 teaspoon vanilla extract
- 1/2 teaspoon baking powder
- 1/4 teaspoon salt
- 4 oz cream cheese, softened
- 1/4 cup powdered sugar
How to Prepare Red Velvet Brownies with Cream Cheese Swirl
Preheat the Oven
First things first, you’ll want to preheat your oven to 350°F (175°C). This step is super important because it ensures that your brownies bake evenly. While it’s warming up, you can get everything else ready!
Combine Dry Ingredients
In a big mixing bowl, let’s combine the dry ingredients! Grab your flour, unsweetened cocoa powder, baking powder, and salt. Whisk them together really well until they’re evenly mixed. I like to use a whisk because it really helps to aerate the flour and cocoa, making the brownies nice and light. Just a few seconds of whisking, and you’re good to go!
Mix Wet Ingredients
Now for the fun part! In another bowl, mix together the granulated sugar and melted butter until it’s nice and smooth. Then, add in the eggs, red food coloring, and vanilla extract. Make sure to beat this mixture well until everything is combined and you’ve got that lovely red color shining through. It’s like a little magic potion!
Combine Mixtures
Next, it’s time to bring those wet and dry ingredients together! Pour the wet mixture into the bowl with your dry ingredients. Gently fold them together using a spatula or a wooden spoon until just combined. Be careful not to overmix – a few lumps are totally okay! This helps keep the brownies tender and delicious.
Prepare the Baking Dish
Now, let’s prepare our baking dish! Grab a 9×9 inch pan (or similar) and grease it with some butter or non-stick spray, so your brownies don’t stick. Spread half of your brownie batter evenly into the bottom of the dish. Make sure it’s nice and smooth; this will be the base for our cream cheese swirl!
Prepare the Cream Cheese Swirl
In a separate bowl, it’s time to make that luscious cream cheese swirl! Beat the softened cream cheese and powdered sugar together until it’s completely smooth and creamy. You can use an electric mixer or just a good old-fashioned whisk. The smoother, the better – this will make your swirl look gorgeous!
Layer the Brownies
Now for the fun part of layering! Spoon dollops of the cream cheese mixture over the brownie batter that’s already in the pan. Once you’ve got it all spread out, take a knife and gently swirl it into the brownie batter. Don’t overdo it! You want those beautiful swirls to show through.
Bake the Brownies
Pop the baking dish into your preheated oven and bake for about 25-30 minutes. You’ll know they’re done when a toothpick inserted into the center comes out clean or with just a few moist crumbs. Keep an eye on them, because nobody likes overbaked brownies!
Cool and Slice
Once they’re done baking, let your brownies cool in the pan for a bit before slicing. I like to let them cool for at least 10-15 minutes. Then, cut them into squares and get ready for the deliciousness! Trust me, the smell wafting through your kitchen is going to drive you wild!
Why You’ll Love This Recipe
- Quick preparation that fits into any busy schedule.
- Rich, decadent flavors that satisfy any sweet tooth.
- Beautifully striking presentation with that vibrant red and creamy swirl.
- Perfect for any occasion, from casual get-togethers to fancy celebrations.
- Easy to customize with add-ins like chocolate chips for an extra treat.
- Leftovers (if there are any!) stay moist and delicious for days.
- Fun to make, so you can involve the kids and create lasting memories in the kitchen.
Tips for Success
- Adjust the Food Coloring: Depending on your preference, feel free to add a bit more red food coloring to achieve that gorgeous deep red hue. Just add a little at a time, mixing well until you get your desired color.
- Chocolate Chips Are Your Friend: For an extra hit of flavor, toss in some chocolate chips into the brownie batter. They’ll melt beautifully and add a delightful richness to every bite. Yum!
- Don’t Overmix: Remember, overmixing can lead to dense brownies. Mix just until the ingredients are combined, and don’t worry if a few lumps remain – they’ll bake out just fine!
- Use Quality Cocoa Powder: The flavor of your brownies really shines through, so pick a high-quality unsweetened cocoa powder. It makes a big difference in that rich chocolate taste.
- Let Them Cool: I know it’s hard to resist, but letting the brownies cool in the pan for a little while before slicing makes a world of difference in texture. You’ll thank me later when they’re perfectly fudgy!
- Experiment with Toppings: Get creative! Once they’re baked and cooled, consider drizzling some melted chocolate or a sprinkle of crushed nuts on top for a fun twist.
Storage & Reheating Instructions
So, if you happen to have any leftovers (which is a big “if,” because they’re just that good!), storing them properly is super important to keep them tasting fresh and delicious. First, let them cool completely in the pan before transferring them. Once they’re cool, I like to keep them in an airtight container. This helps maintain their moisture and keeps them from drying out. You can store them at room temperature for about 2-3 days, or pop them in the fridge for up to a week. Just make sure they’re well sealed!
If you want to enjoy them warm and gooey again, reheating is a breeze! Just take a brownie, place it on a microwave-safe plate, and heat it for about 10-15 seconds. Keep an eye on it – you don’t want to overdo it, or it’ll get a bit tough. If you like, you can even add a scoop of vanilla ice cream on top when you’re reheating for that extra indulgence! Trust me, it’s heavenly.
And if you want to keep them for longer, you can freeze them! Just wrap each brownie individually in plastic wrap and then place them in a freezer bag. They’ll stay good for up to 3 months. When you’re ready to enjoy one, let it thaw in the fridge overnight or pop it in the microwave for a quick warm-up. Enjoy every delicious bite!
Nutritional Information
Now, let’s talk about the nutritional information for these scrumptious *Red Velvet Brownies with Cream Cheese Swirl*. Keep in mind that these values are estimates based on the ingredients used, so they can vary a bit depending on your specific brands and measurements.
- Serving Size: 1 brownie
- Calories: 200
- Total Fat: 8g
- Saturated Fat: 5g
- Trans Fat: 0g
- Cholesterol: 30mg
- Sodium: 120mg
- Total Carbohydrates: 30g
- Dietary Fiber: 2g
- Total Sugars: 18g
- Protein: 3g
These brownies are a delightful treat that balances indulgence with a bit of sweetness. So, you can enjoy every fudgy bite without too much guilt! Just remember, moderation is key, especially when they’re this delicious!
FAQ Section
Can I substitute the cream cheese?
Absolutely! If you’re not a fan of cream cheese, you can swap it out for a similar amount of ricotta cheese or even a thick yogurt for a different twist. Just keep in mind the flavor and texture will change a bit, but it’ll still be delicious!
What if I don’t have red food coloring?
No worries at all! You can omit the food coloring altogether, and your brownies will still taste amazing. They’ll just be a rich chocolate color instead of the classic red. If you want, you could use a touch of beet juice for a natural red hue!
How should I store these brownies?
I recommend storing them in an airtight container at room temperature for up to 2-3 days. If you want them to last longer, pop them in the fridge for up to a week. Just make sure they’re sealed well to keep their moisture!
Can I make these brownies ahead of time?
Definitely! These brownies are perfect for making a day or two in advance. Just let them cool completely, store them properly, and they’ll be waiting for you when you’re ready to enjoy them!
What can I add for extra flavor?
Oh, you can go wild with add-ins! I love tossing in chocolate chips, nuts, or even a sprinkle of sea salt on top before baking for that sweet and salty combo. Get creative and make them your own!
Red Velvet Brownies with Cream Cheese Swirl: 7 Reasons to Indulge
- Total Time: 50 minutes
- Yield: 16 brownies 1x
- Diet: Vegetarian
Description
Delicious red velvet brownies with a creamy cheese swirl.
Ingredients
- 1 cup all-purpose flour
- 1/2 cup unsweetened cocoa powder
- 1 cup granulated sugar
- 1/2 cup unsalted butter, melted
- 2 large eggs
- 1 tablespoon red food coloring
- 1 teaspoon vanilla extract
- 1/2 teaspoon baking powder
- 1/4 teaspoon salt
- 4 oz cream cheese, softened
- 1/4 cup powdered sugar
Instructions
- Preheat your oven to 350°F (175°C).
- In a bowl, mix flour, cocoa powder, baking powder, and salt.
- In another bowl, combine sugar and melted butter. Add eggs, food coloring, and vanilla.
- Mix the wet and dry ingredients together.
- Spread half of the brownie batter in a greased baking dish.
- In a separate bowl, beat cream cheese and powdered sugar until smooth.
- Drop spoonfuls of the cream cheese mixture over the brownie layer.
- Spread the remaining brownie batter on top.
- Swirl the cream cheese mixture with a knife.
- Bake for 25-30 minutes or until a toothpick comes out clean.
- Let cool before slicing.
Notes
- Store leftovers in an airtight container.
- For a richer flavor, add chocolate chips.
- Adjust the food coloring for desired color intensity.
- Prep Time: 20 minutes
- Cook Time: 30 minutes
- Category: Dessert
- Method: Baking
- Cuisine: American
Nutrition
- Serving Size: 1 brownie
- Calories: 200
- Sugar: 18g
- Sodium: 120mg
- Fat: 8g
- Saturated Fat: 5g
- Unsaturated Fat: 2g
- Trans Fat: 0g
- Carbohydrates: 30g
- Fiber: 2g
- Protein: 3g
- Cholesterol: 30mg
Keywords: Red Velvet Brownies, Cream Cheese Swirl, Dessert Recipe